快速入门

# 前提准备
ADMQ安装包(包含管控台和引擎两个安装包)
license授权文件(license.xml)
1台Linux虚拟机(ADMQ集群至少需要三个节点)
jdk1.8及以上的环境
# 管控台安装流程
把安装包放到指定目录解压
mv admq-manager-V2.3.tar.gz /opt/
tar -zxvf admq-manager-V2.3.tar.gz
1
2
2
拷贝license授权文件到管控台目录
cp license.xml /opt/admq-manager-V2.3/licenses
1
启动程序
cd /opt/admq-manager-V2.3/
bin/admq-manager start
1
2
2
停止程序
cd /opt/admq-manager/
bin/admq-manager stop
1
2
2
访问管控台页面
在浏览器输入:https://IP:12306,访问界面:
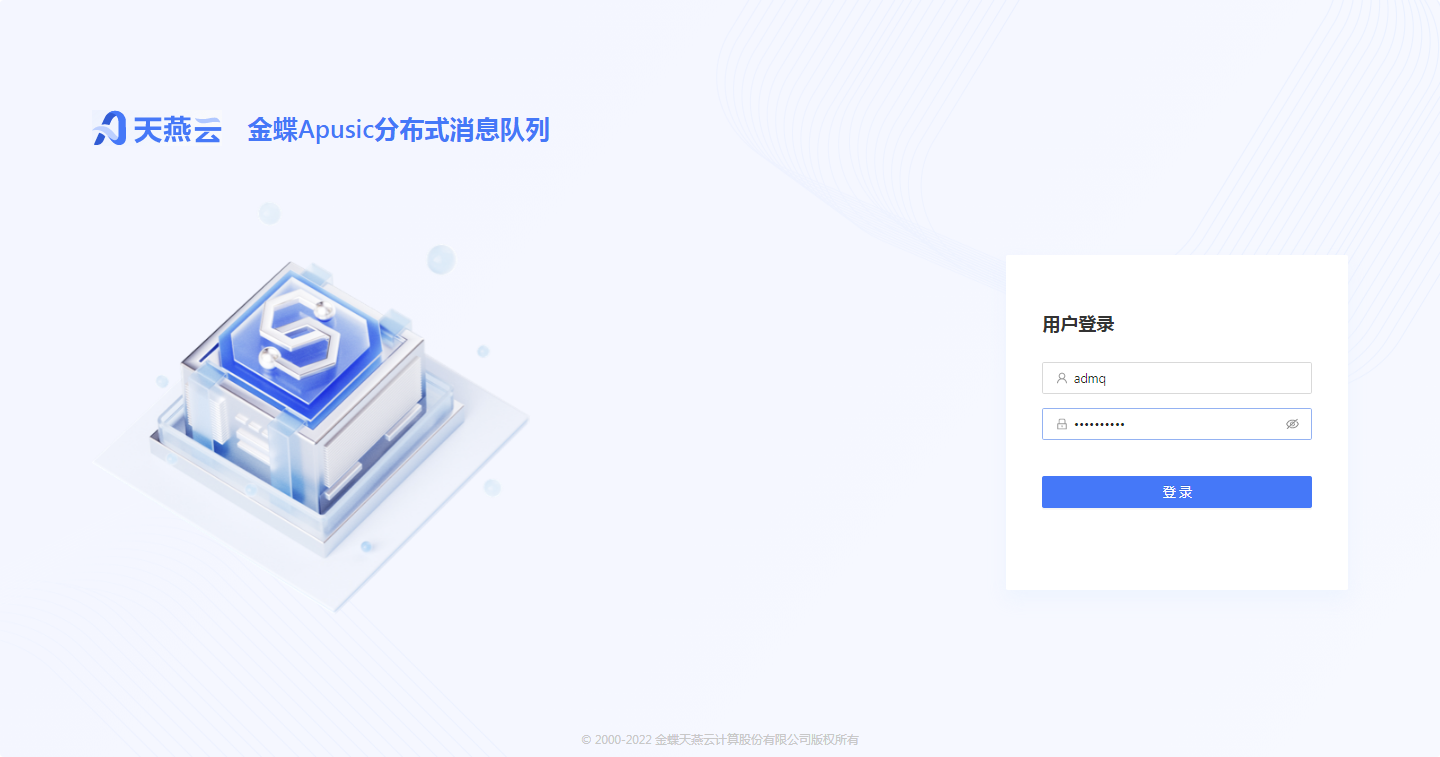
密码默认:11111111,首次登录需修改。
# 单机或集群部署流程
为了简单测试ADMQ的基本功能,您可以找一台服务器单独部署程序,部署完成后即可通过客户端发布和接收消息。
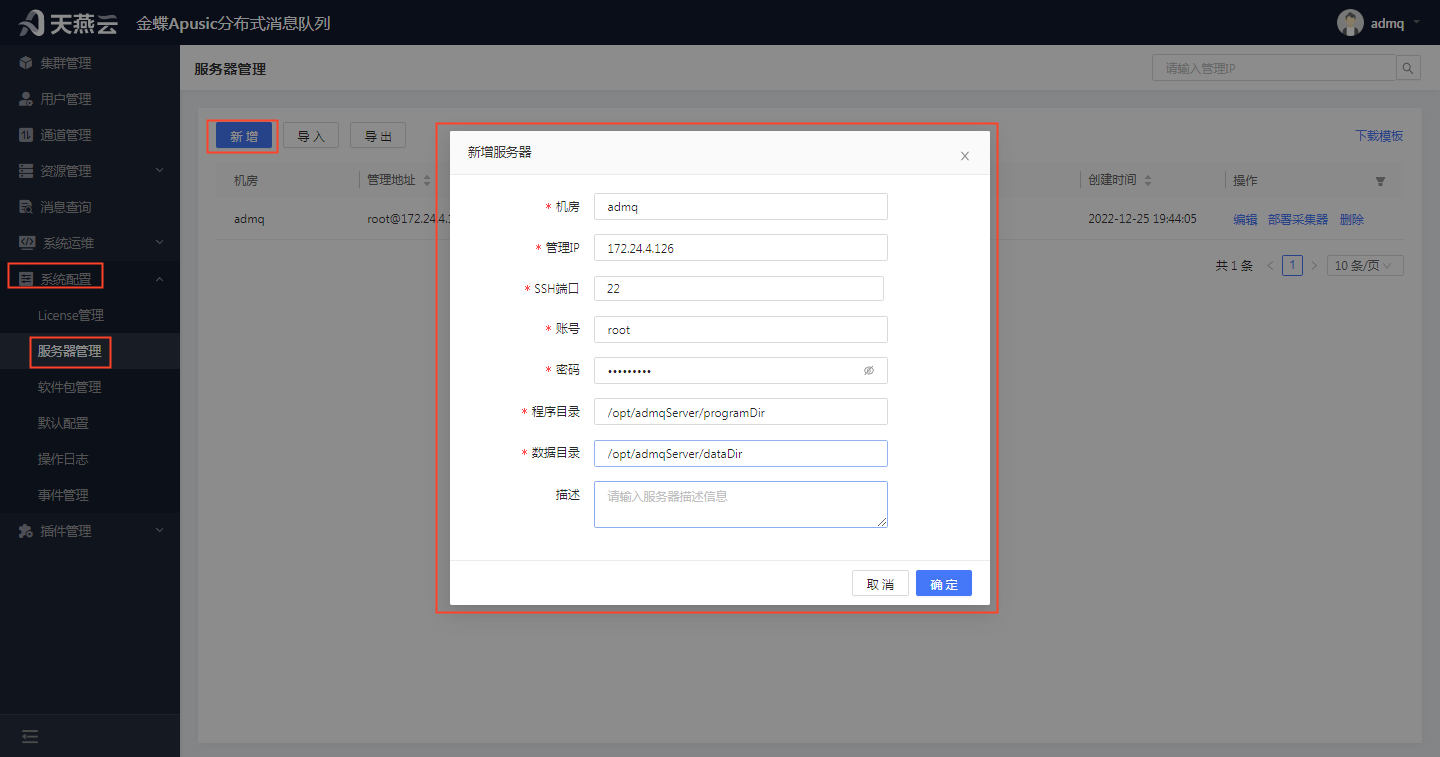
新增服务器
进入【系统配置】>【服务器管理】,在服务器管理页面点击左上角【新增】按钮,新增服务器信息。
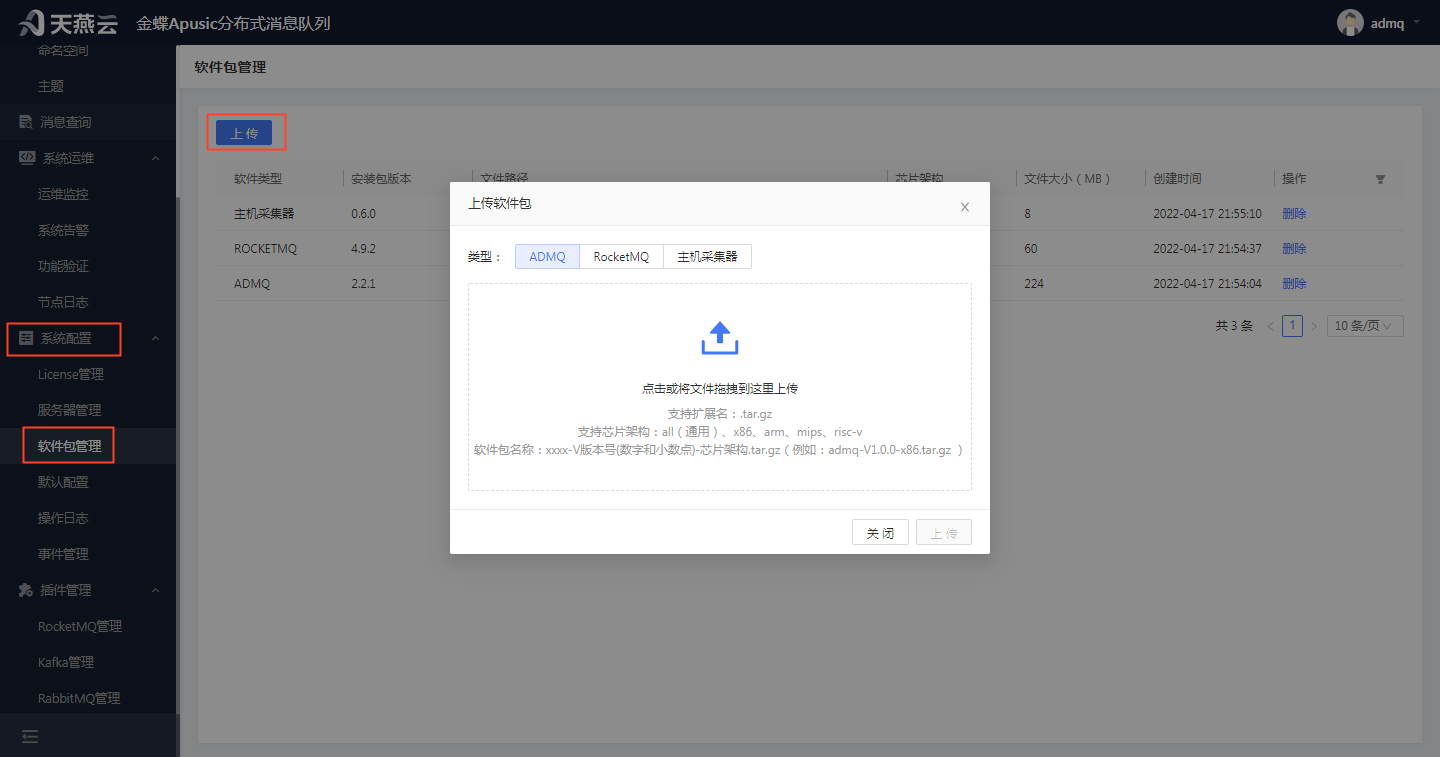
上传软件包
进入【系统配置】>【软件包管理】,点击左上角的【上传】按钮,点击【上传】按钮或拖动软件包文件进来,可上传软件包信息。
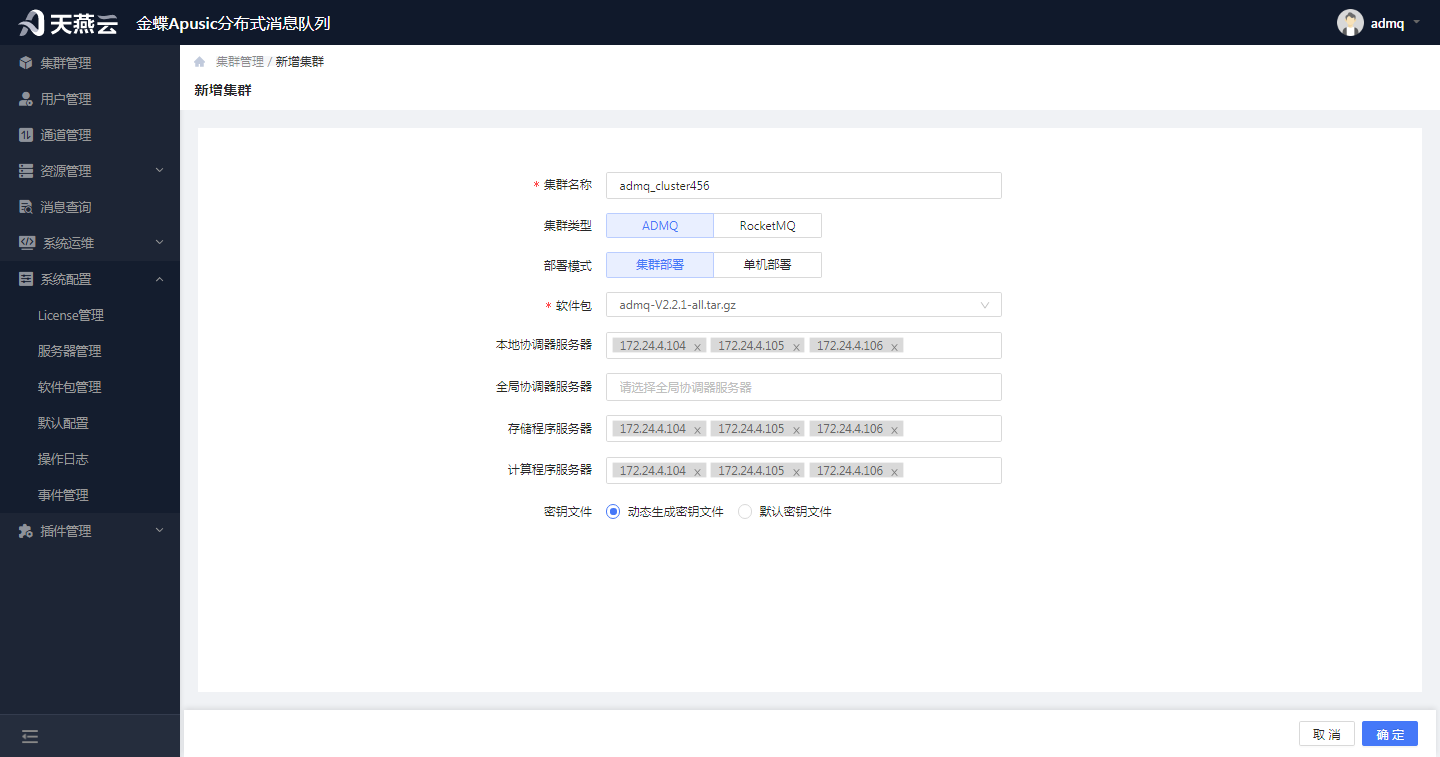
创建单机或集群
进入【集群管理】,在集群管理页面左上角点击【新增】按钮,新增集群信息。(部署模式可选择集群模式或者单机模式)
# 客户端简单使用
public class Global {
    public static String clusterUrl = "pulsar://ip:6650";
    public static String defaultTopic = "persistent://租户/命名空间/主题";
}
1
2
3
4
2
3
4
public class GetPulsarClient {
    public static PulsarClient get(){
        try{
            PulsarClient pulsarClient;
            pulsarClient=PulsarClient
                    .builder()
                    .serviceUrl(Global.clusterUrl)
                    .authentication(AuthenticationFactory.token("token值"))
                    .build();
            return pulsarClient;
        }catch(Exception e){
            System.out.println(e);
            return null;
        }
    }
}
1
2
3
4
5
6
7
8
9
10
11
12
13
14
15
16
2
3
4
5
6
7
8
9
10
11
12
13
14
15
16
public class simpleConsumer {
    public static void main(String[] args) {
        try{
            receiveSync();
        }catch (Exception e){
            System.out.println(e);
        }
    }
    public static void receiveSync() throws PulsarClientException {
        Consumer<byte[]> simpleConsumer= GetPulsarClient.get().newConsumer()
                .topic(Global.defaultTopic)
                .subscriptionName("admqSub3")
                .subscribe();
        while(true){
            //System.out.println("simpleConsumerSync received: ");
            Message msg = simpleConsumer.receive();
            //System.out.println("simpleConsumerSync received: "+new String(msg.getData()));
            try{
                System.out.println("simpleConsumerSync received: "+new String(msg.getData()));
                simpleConsumer.acknowledge(msg);
                System.out.println("this msg is acked!!!");
            }catch(Exception e){
                System.out.println(e);
                simpleConsumer.negativeAcknowledge(msg);
            }
        }
    }
}
1
2
3
4
5
6
7
8
9
10
11
12
13
14
15
16
17
18
19
20
21
22
23
24
25
26
27
28
2
3
4
5
6
7
8
9
10
11
12
13
14
15
16
17
18
19
20
21
22
23
24
25
26
27
28
public class simpleProducer {
    public static void main(String[] args){
        try{
            sendSimpleMessageSync();
        }catch(Exception e){
            e.printStackTrace();
            System.err.println(e);
        }

    }
    public static void sendSimpleMessageSync() throws PulsarClientException, InterruptedException {
        PulsarClient pulsarClient= GetPulsarClient.get();
        Producer<byte[]> simpleProducer=pulsarClient.newProducer()
                .topic(Global.defaultTopic)
                .producerName("simplePulsarProducer")
                .compressionType(CompressionType.SNAPPY)
                .sendTimeout(0, TimeUnit.SECONDS)
                .create();
        for(int i=0;i<100;i++){
            String msg="Hello simpleProducerSync!"+i;
            simpleProducer.send(msg.getBytes());
            System.out.println(msg);
            //Thread.sleep(100);
        }
    }
}
1
2
3
4
5
6
7
8
9
10
11
12
13
14
15
16
17
18
19
20
21
22
23
24
25
26
2
3
4
5
6
7
8
9
10
11
12
13
14
15
16
17
18
19
20
21
22
23
24
25
26
# 具体操作步骤
参考文档
编辑页面 (opens new window)